How to Get Rid of the Windows 10 Watermark
Windows 10 activation watermark appears on the desktop if you don't activate your copy of Windows 10 once the 90-day trial period is over. It may also happen is that you are still seeing this watermark even when you have activated your Windows 10. In that case, if you are thinking how to remove the Windows 10 activation watermark permanently, this article will help you out. Simply follow these easy methods and the activation watermark will be gone in no time at all.
Fix-1 Modify your Registry-
Changing the value of the 'Start' key will solve this issue for you.
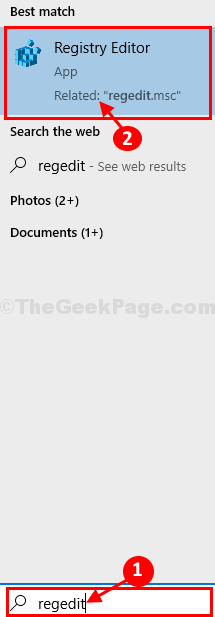
1. Click on the Search box and then type "regedit".
2. Now, click on "Registry Editor" from the search results to open it on your computer.
NOTE–
Once the Registry Editor appears, click on "File" > "Export" to create a backup of the registry. Don't forget to save the backup in an easily accessible place.
If anything bad happens to your system, you can retrieve your registry by simply importing the backup.
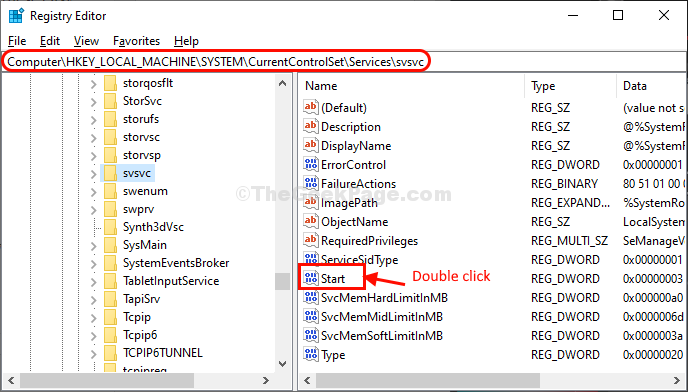
3. In Registry Editor window, on the left-hand side, navigate to this location-
Computer\HKEY_LOCAL_MACHINE\SYSTEM\CurrentControlSet\Services\svsvc
4. Now, on the right-hand side, double click on "Start" DWORD value to modify it.
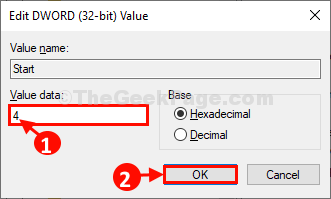
5. Simply set the 'Value Data' to "4" and then click on "OK" to save the changes on your computer.
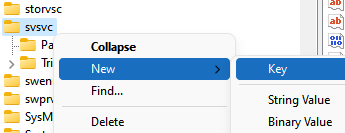
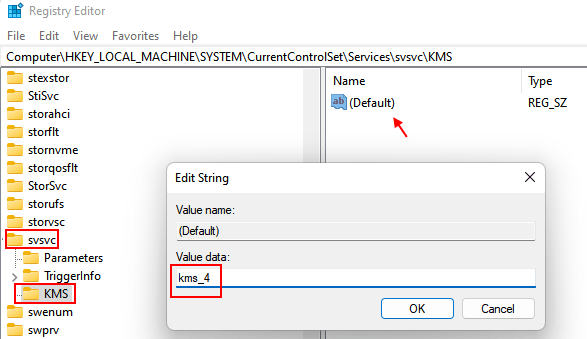
6 . Now, right Click on svsvc and choose New > Keyand name it KMS.
7. Now, select KMS and in the right side double click on Default key and change the value data to kms_4
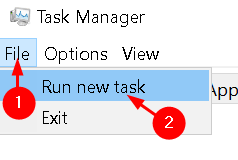
8 – Now, Press CTRL +SHIFT + ESC keys together on your keyboard to open task manager.
9 – Now, Click on File and choose Run new task.
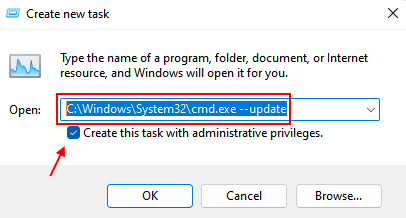
10 – Now, copy and paste the path given below in the field provided and click OK. Do not forget to check the Create this task with admin privileges option.
C:\Windows\System32\cmd.exe --update
11 – Once the cmd window opens up, type the command given below and hit enter.
gpupdate /force
12 – Now, go to the following path in registry editor given below.
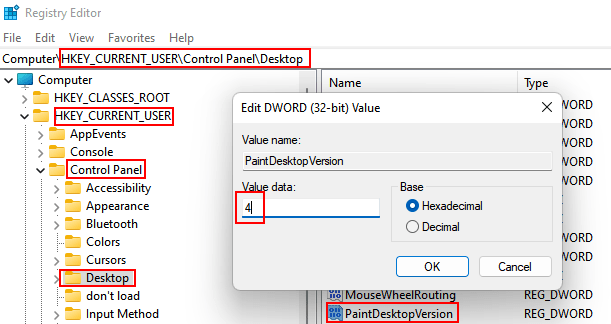
HKEY_CURRENT_USER\Control Panel\Desktop
13 – Now, in the right side double click on PaintDesktopVersion and change the value data to 4 and click on OK.
Once done, close Registry Editor window. Reboot your computer and the watermark will be gone.
Fix-2 Run a batch file-
Create and run a batch file on your computer to kill the watermark process.
1. At first, type "Notepad" in the search box.
2. Then, click on "Notepad".

3. Copy – paste these following lines in the Notepad window.
@echo off taskkill /F /IM explorer.exe start explorer.exe exit
4. After doing so, click on "File" in the menu-bar and then click on "Save as".
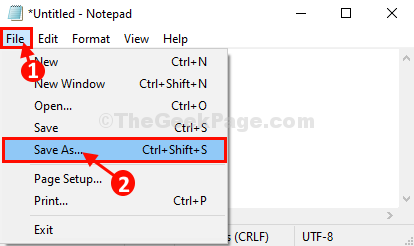
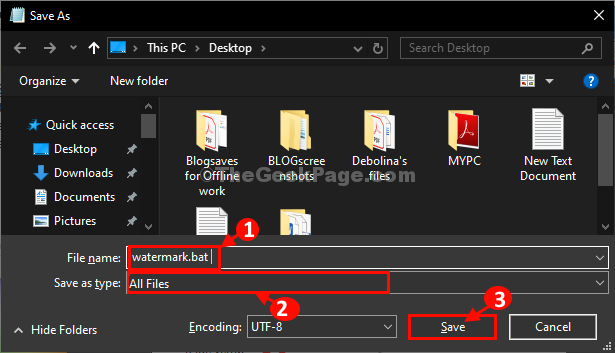
5. In Save As window, name the file as "watermark.bat". Choose the location of your choice to save this batch file.
6. Select the 'Save as type:' as "All Files" from the drop-down.
7. Click on "Save" to save the file on your computer.
Go to the location where you have saved the batch file.
8. Double click on the "Watermark" batch file to execute it on your computer.
You will see the activation message has gone from your screen.
But when you reboot your computer the activation message will pop up again.
Now if you want to program Windows to automatically run the watermark batch file follow these steps-
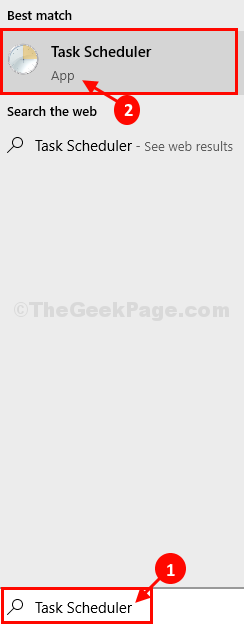
1. Click on the Search box beside Windows icon and type "Task Scheduler".
2. Click on "Task Scheduler" from the elevated Search result to open Task Scheduler.
3. In the Task Scheduler window, on the right-hand side, click on "Create Basic Task…".

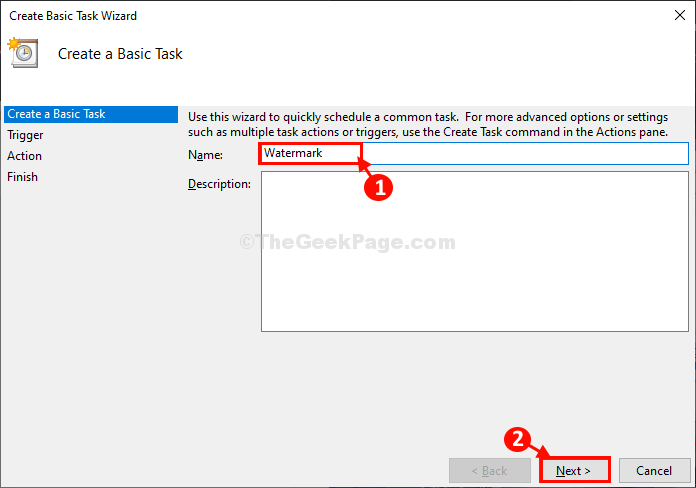
4. Name the task as "Watermark".
5. Then, click on "Next" to proceed further.
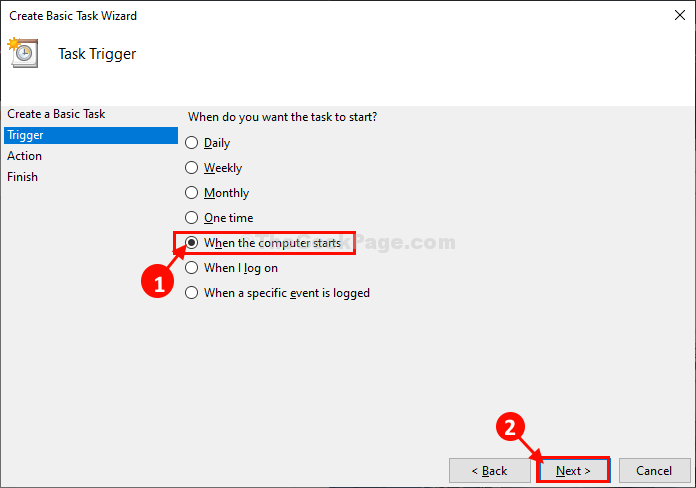
6. Now, choose "When the computer starts" as the frequency of when this task is going to take place.
7. Again, click on "Next" to move on.
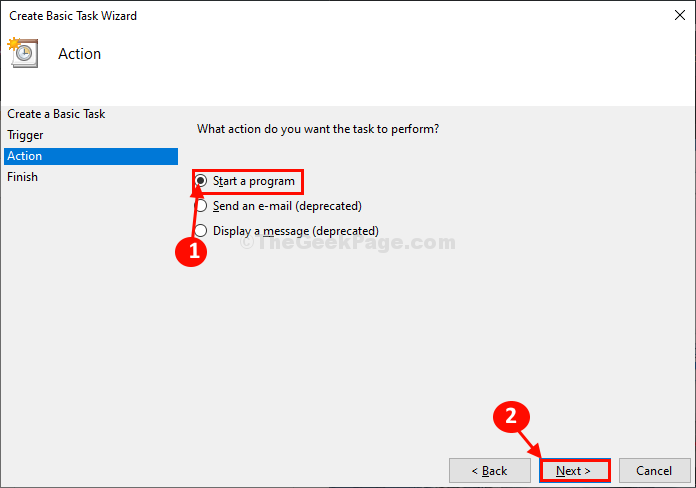
8. Now, choose "Start a program".
9. Now, click on "Next" to proceed further to choose the program.
10. Click on "Browse".
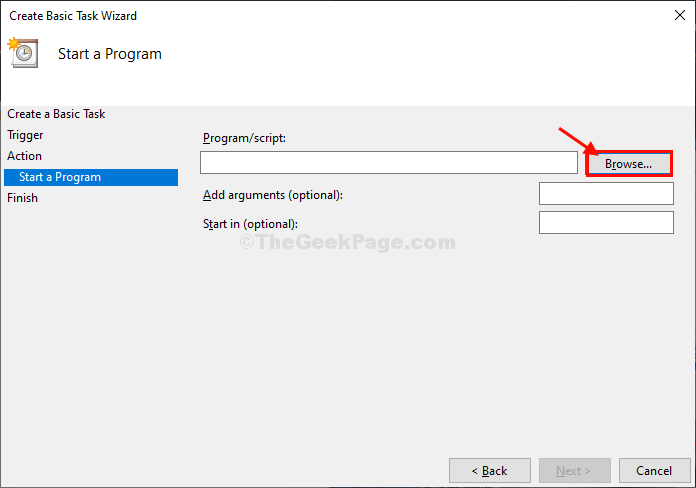
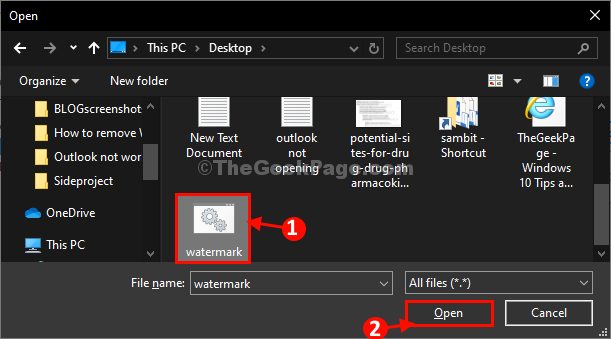
11. Now, navigate to the location where you had stored the " watermark.bat " file.
12. Select "watermark" and then click on "Open".
13. Then, click on "Next".

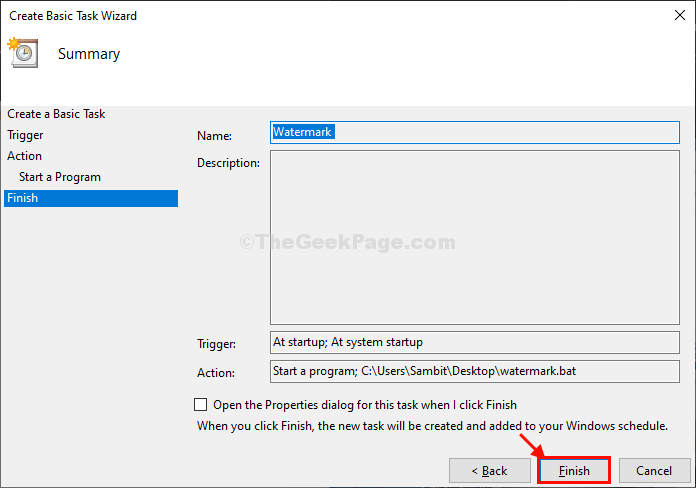
14. Finally, click on "Finish" to finish scheduling the task.
Close Task Scheduler window.
Form now on, whenever you start your computer, this batch file will be run automatically, removing the watermark during startup.
If the problem is still there, follow our next fix.
Fix-3 Modify your registry-
If you continue to see the watermark on your computer, go for these steps-
1. Press the Windows icon to access the Search box. Now, type "regedit".
2. Then, click on "Registry Editor" to access the editor.
3. Once the Registry Editor opens up, go to this location-
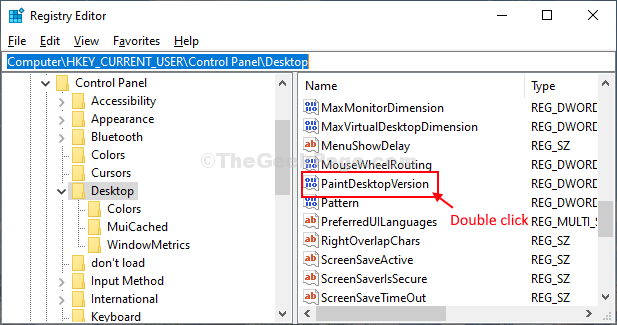
Computer\HKEY_CURRENT_USER\Control Panel\Desktop
4. On the right-hand side, double click on the "PaintDesktopVersion" value to modify it.
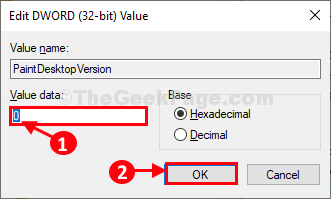
5. In the Edit DWORD (32-bit) Value window, click on the 'Value data:' to "0".
6. Finally, click on "OK" to save the changes on your computer.
Once done, close Registry Editor window.
Restart your computer and after rebooting your computer, the watermark issue will be resolved.

Sambit is a Mechanical Engineer By qualification who loves to write about Windows 10 and solutions to weirdest possible problems.
How to Get Rid of the Windows 10 Watermark
Source: https://thegeekpage.com/remove-windows-10-activation-watermark-permanently/
0 Response to "How to Get Rid of the Windows 10 Watermark"
Post a Comment